
3D Printer
2012-01-08
Some months ago I decided that I have to build my own 3D Printer. After some searching the decision was made to build the Prusa Mendel 3D Printer (search the web for a tremendous amount of information about that machine). Since this is my first contact with 3D Printers I started with buying a complete kit.
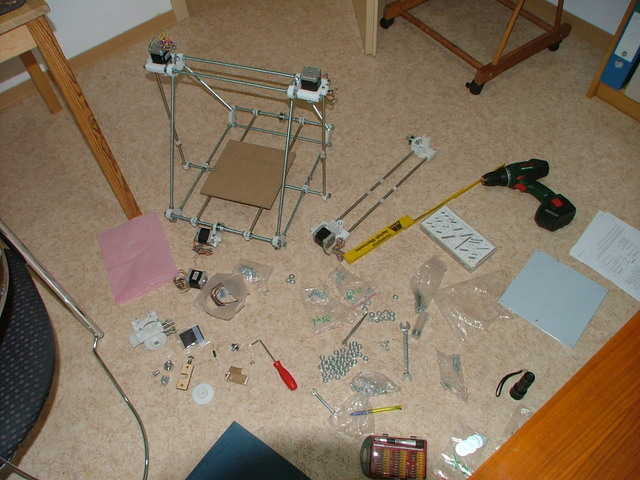 |
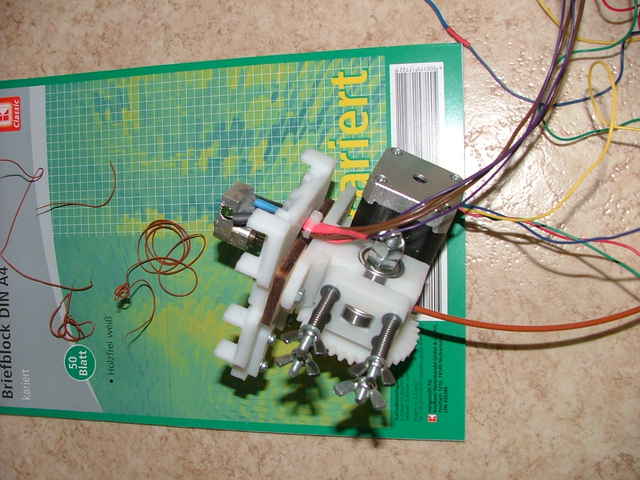
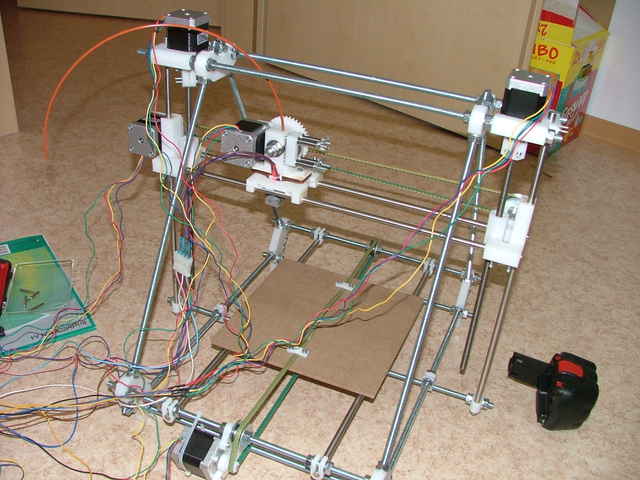
| Here you see the result of the first few hours. Unfortunately I had a delivery delay in the so called "idler block" of the extruder which is missing in this image. Also the Z-Axis threaded rods are missing. A lot of time was spend to learn about the different variants of the machine and finding out which one I was actually building here. The kit contained "Wades extruder" for extrusion of the filament and also Arcols v4 hotend for heating it up and reducing its diameter using a nozzle. Arcols hotend is not assembled yet here because at that stage of development I didn't yet know that I have arcols hotend and thus did not have documentation about how to assemble it :) |
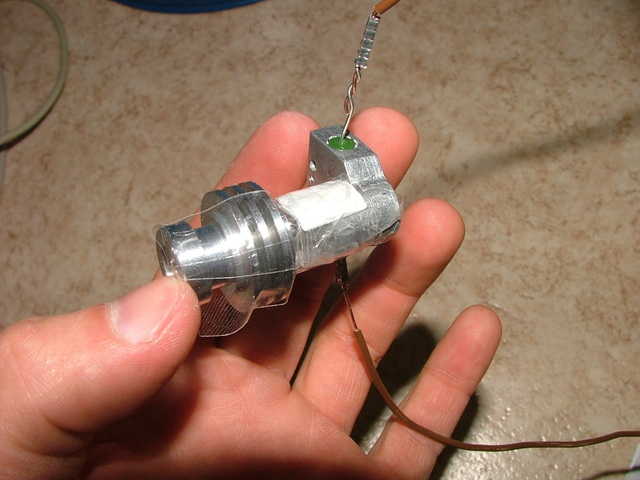 |
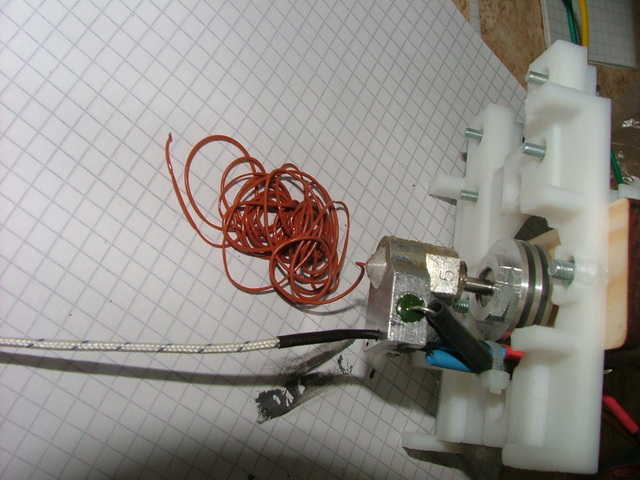
| Here you see Arcols v4 hotend prepared for applying fire cement and inserting the thermistor. Warning! I used TESA tape and it melted at higher temperatures. it even shut the 0,3mm nozzle hole which it should protect ;) Well. I used an acupuncture needle to reopen it. |
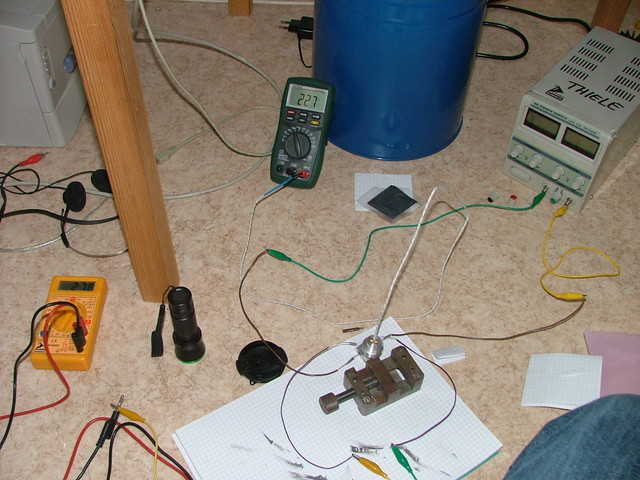 |
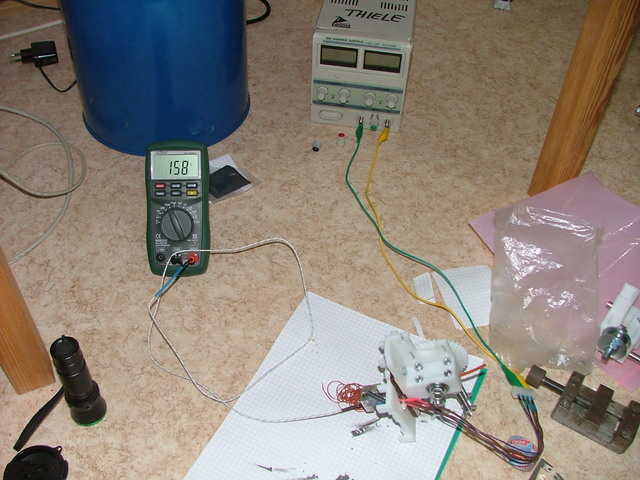
| Here the hotend is cemented. power was applied to the power resistor using a laboratory power supply. the yellow multimeter shows the resistance of the thermistor. the green multimeter has a thermoprobe attached. luckily it fits straight through the filament hole downto the tip of the nozzle. this way I was manually regulating temperature with the power supply until the fire cement was hard. |
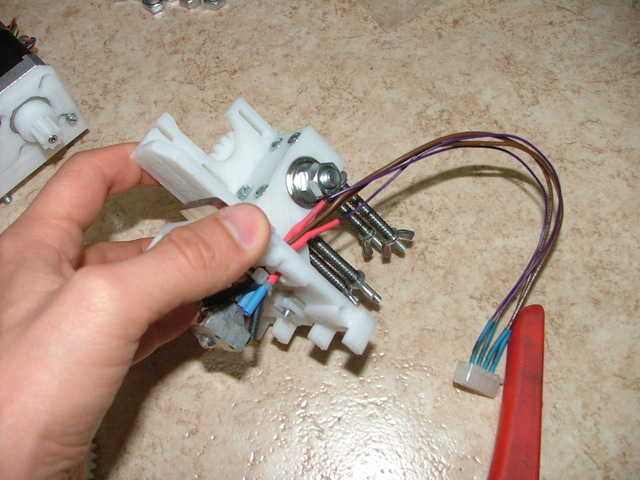 |
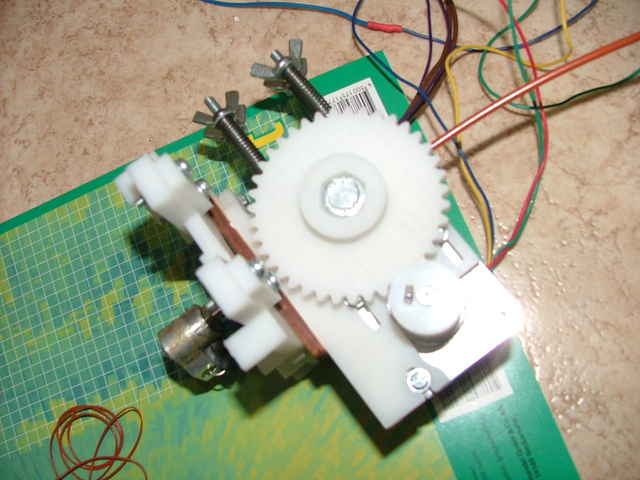
| The extruder is almost done. |
| 
|
| Here I am manually pushing the filament into the hot-end and watch the extrusion. | Nice result. |
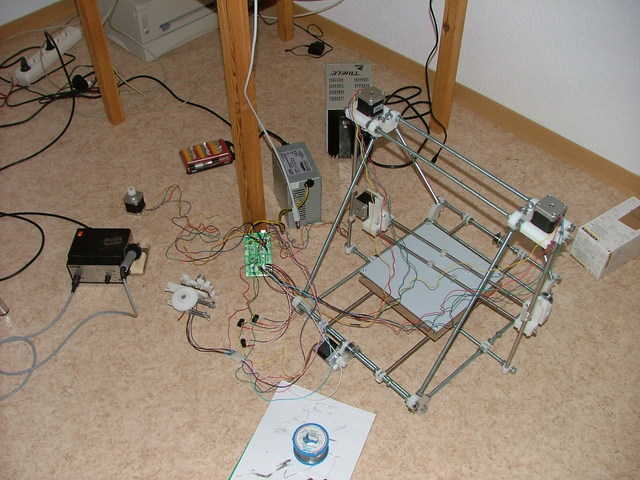 |
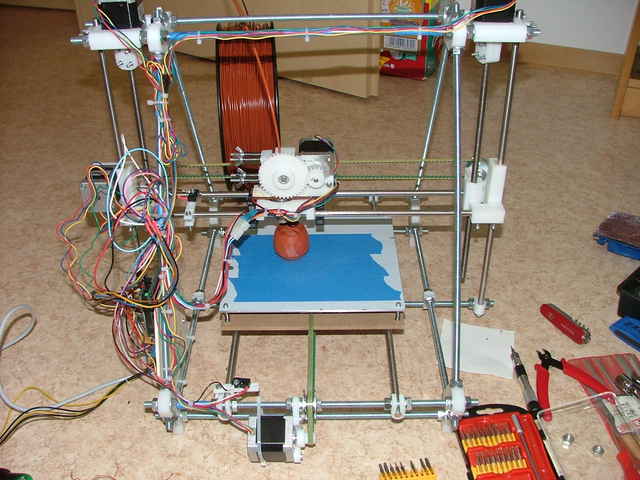
| I worked a lot on the electronics, installing software and so on. now all steppers are running and the endstops are also working. the heat regulation of the hot-end is also running automatically now. You can also see the modified PC power supply which delivers 12V to the ramps 1.4 electronics. |
| 
|
| the extruder and the hotend now work as an axis controlled by ramps 1.4, sprinter and pronterface. i'm really happy it works! | another photo |
| 
|
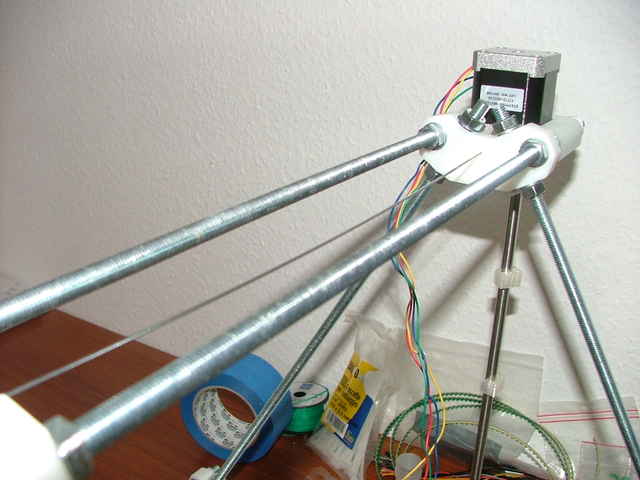
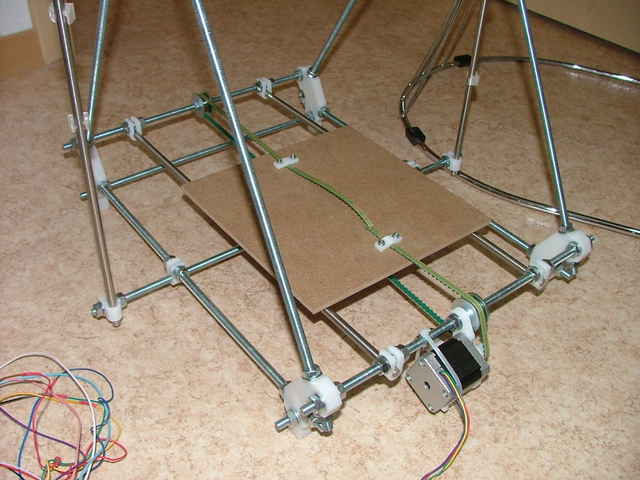
| for the jigging process I cut two small smooth rods to the correct length. by the amount of bending I can precisly measure the distance. | Jigging done! |
| 
|
| The bushings for the Y-axis have been glued and the glue will now dry for 24 hours. | The Y-Axis is driving! I'm impressed by the possible driving speed. |
 |
| The Z-Axis glue has been applied and it will dry for 24 hours. |
| 
|
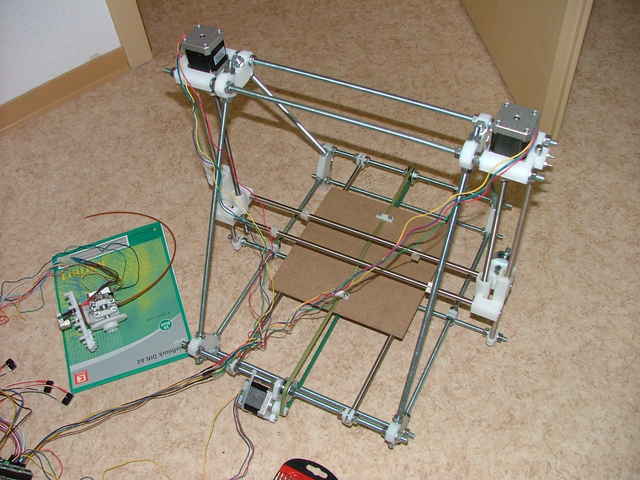
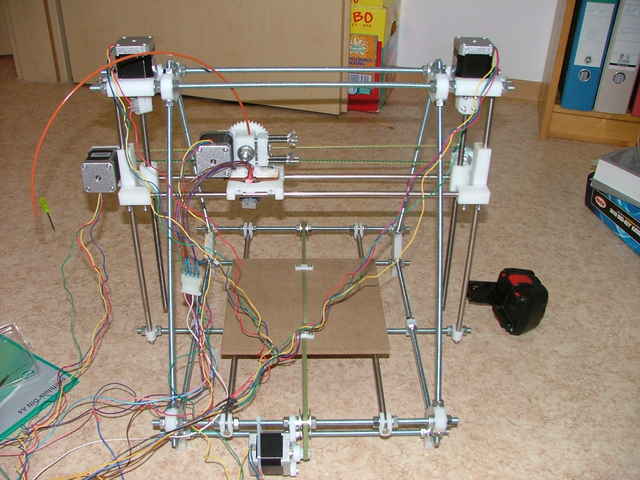
| Z-Axis is working. | X-Axis glued |
| 
|
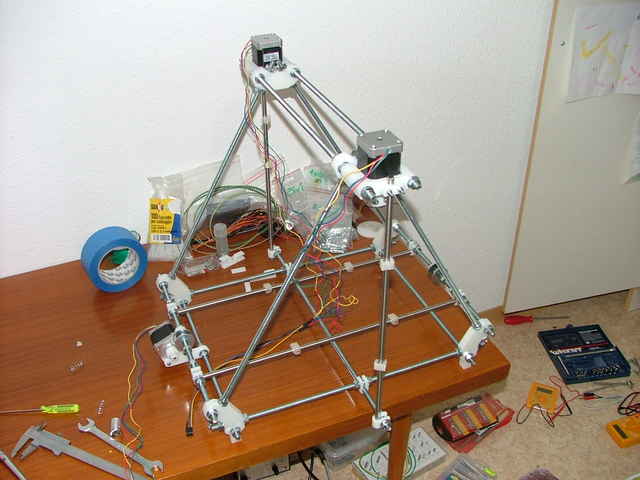
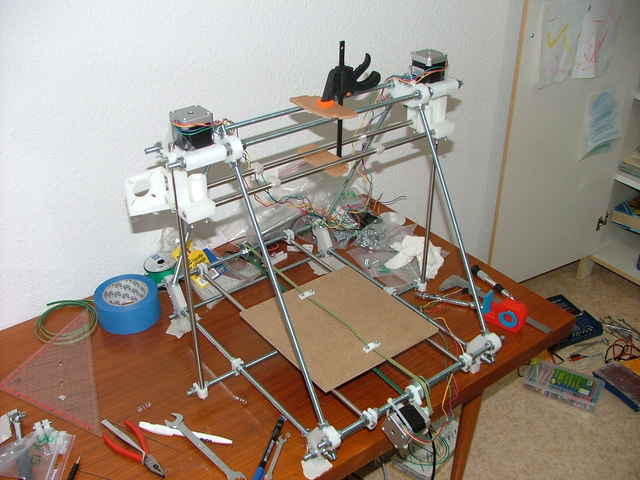
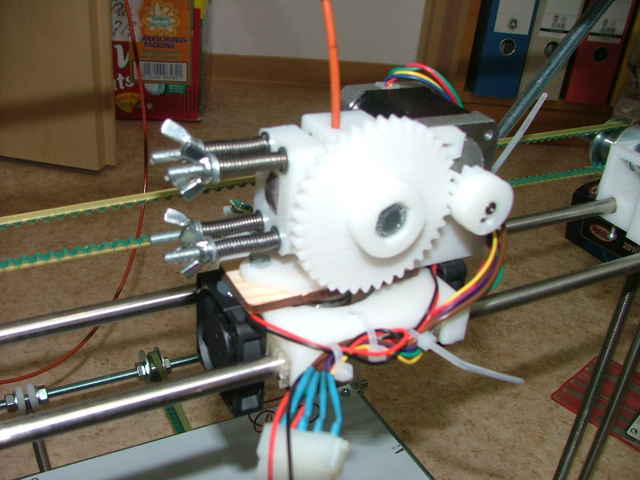
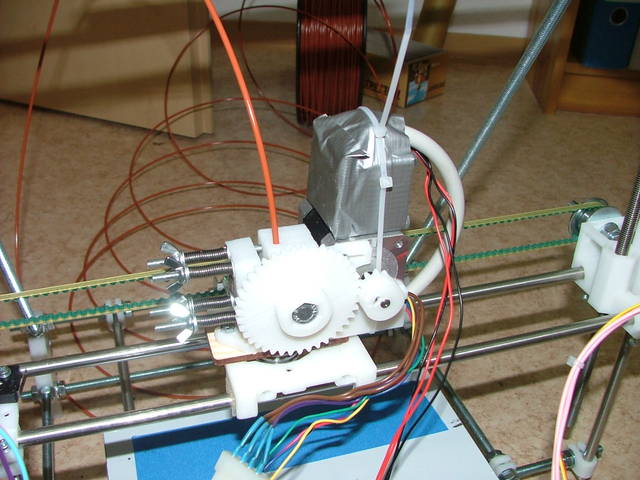
| The machine looks almost done | Here I applied two fans for cooling the upper hot-end part. Without these fans I got regular hot-end jams and it took a while to figure that out. actually it was quite frustrating! |
| 
|
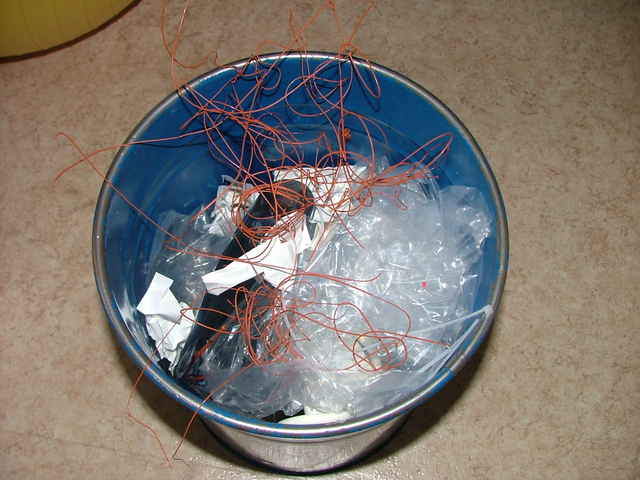
| Oh well... Extrusion tests after extrusion tests... | Initial garbage. The problem was that the extruder jammed. In order to be able to regularly unmount the extruder wheel to clean the teeth I had to rotate my extruder 180 degrees. After cleaning the extruder it started to work quite well. The next problem was that the bottom layer didn't stick on the ground. After using blue masking tape cleaned with aceton it started to stick really good. Another point was that the nozzle must quite kiss the ground and not stay a millimeter or so above it. All has to be learned first :) |
| 
|
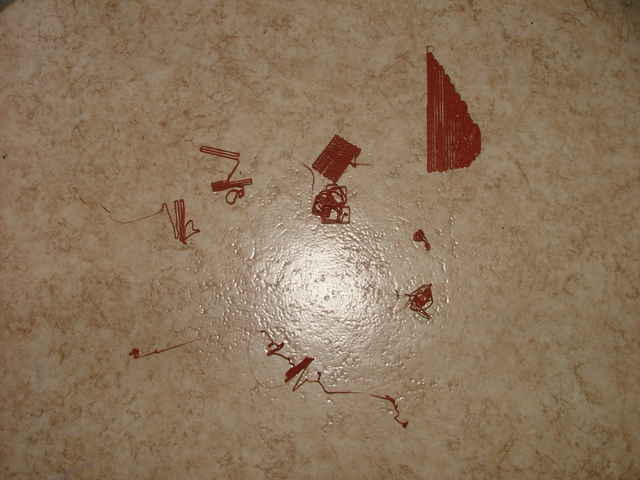
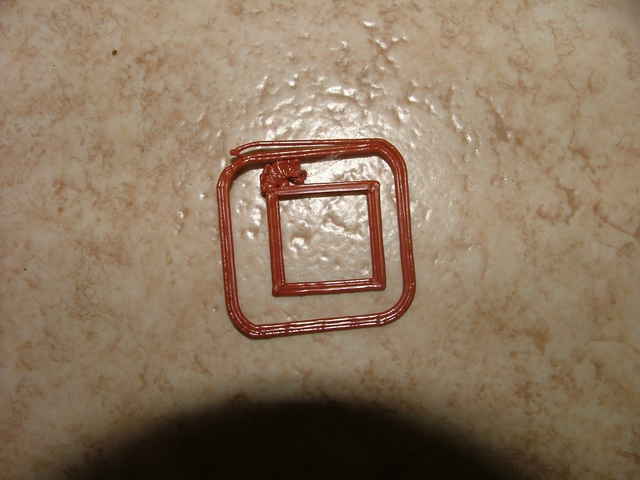
| I was so proud of this rectangles and suddenly they popped of the ground... | Well. this should become a cube but actually it is just a flat piece of garbage. |
| 
|
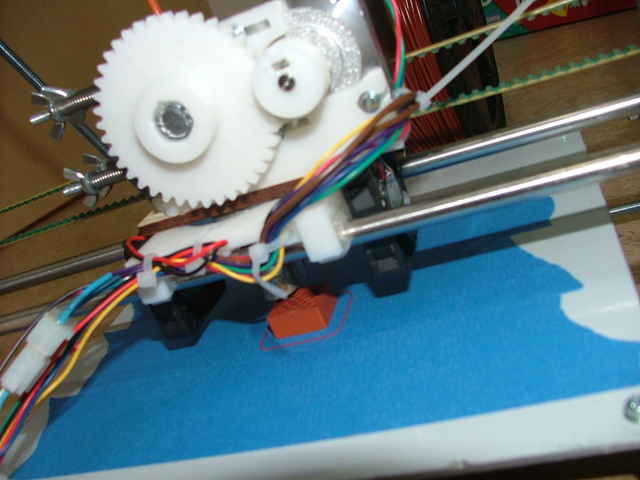
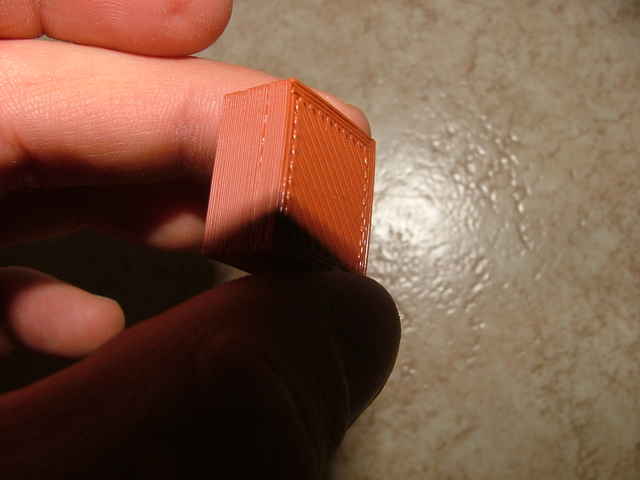
| My very first successful cube extrusion and also the very first successful 3d print of my life! | What a beautiful cube. |
| 
|
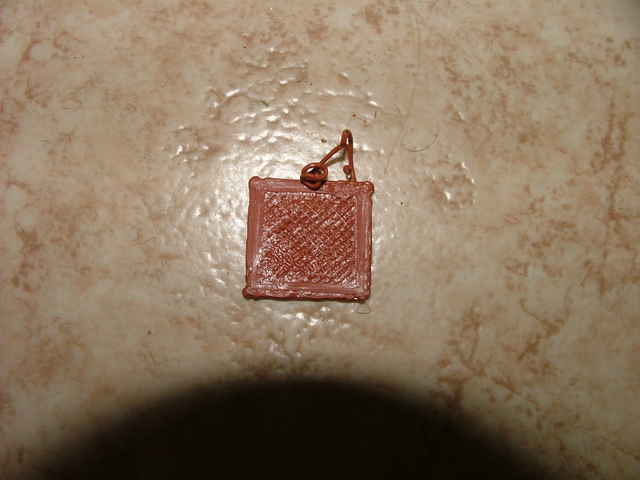
| Next day I decided to become megalomaniac. I downloaded that nice part from thingiverse and printed it. Believe me or not, it worked! | The part right after printing. |
| 
|
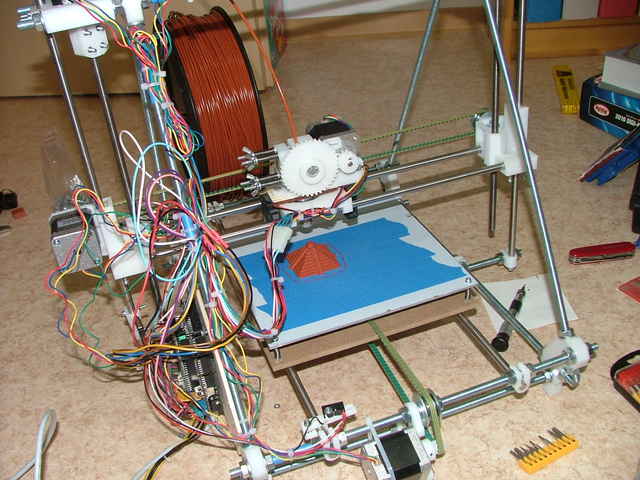
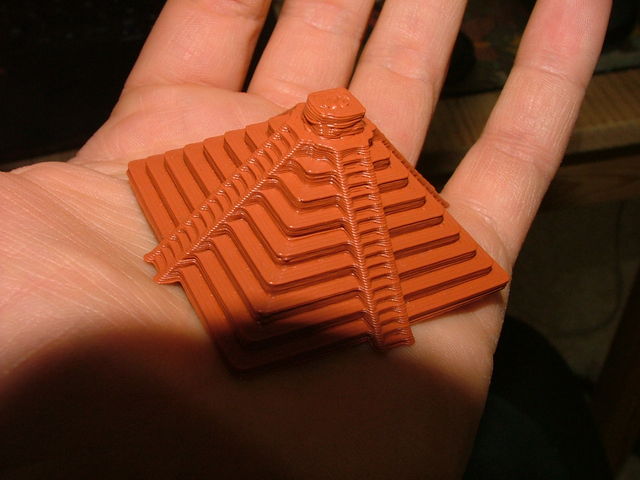
| The newest printed part. A pyramid from thingiverse. My daughter has chosen it to be printed. | Ready to bury the pharao. |
| 
|
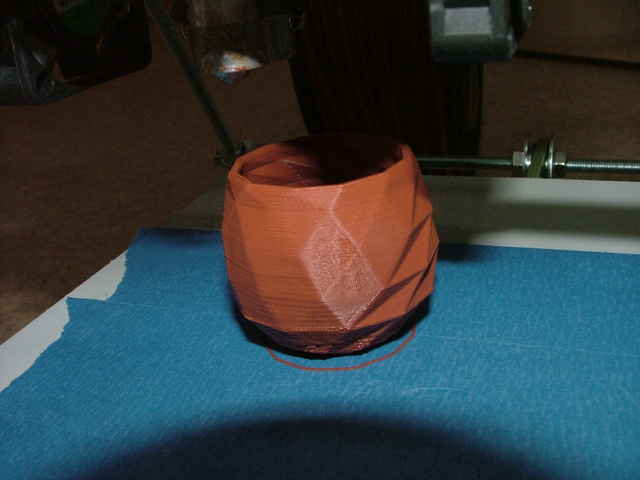
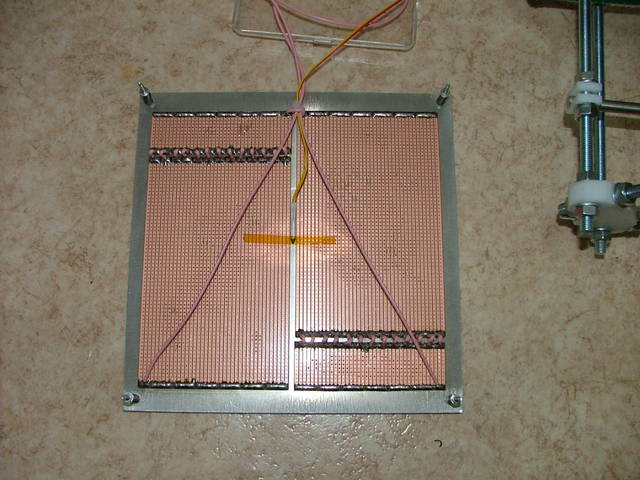
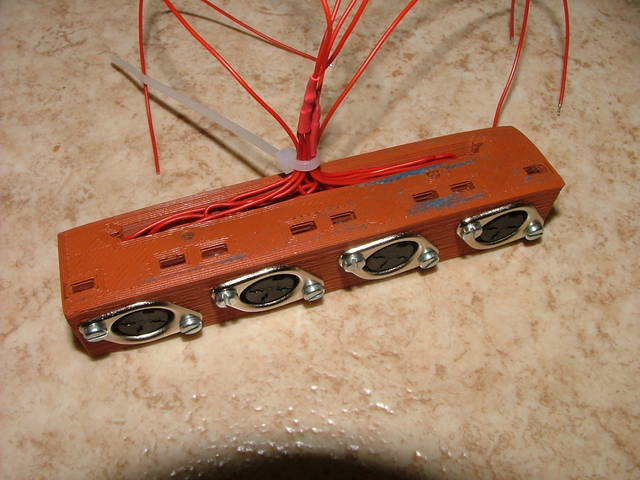
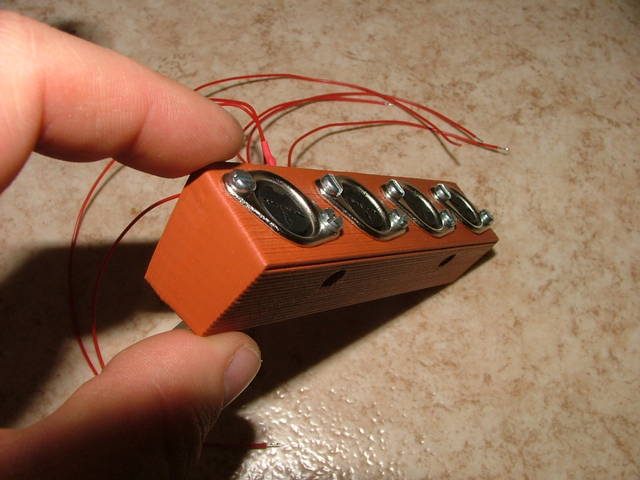
| Here you see a bad effect called warping. It results from a non-heated bed as I use here. After some layers the material finally popped off and raised up. That made it crash into my air blowers and also into the nozzle. The part and the machine were ruined. Thus the decision was made that the bed has to be heated. | I chose a simple variant for heating the bed. Here you see simple raster boards wired together into a giant short-cut circuit. It was carefully designed to draw just the allowed maximum of 11 amperes at 12V from the ramps board. |
| 
|
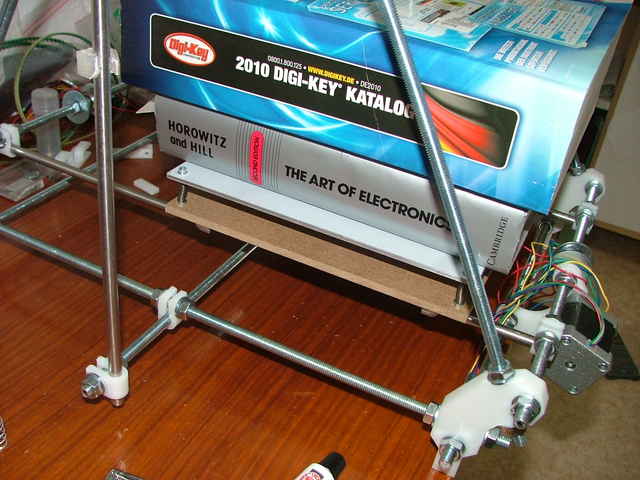
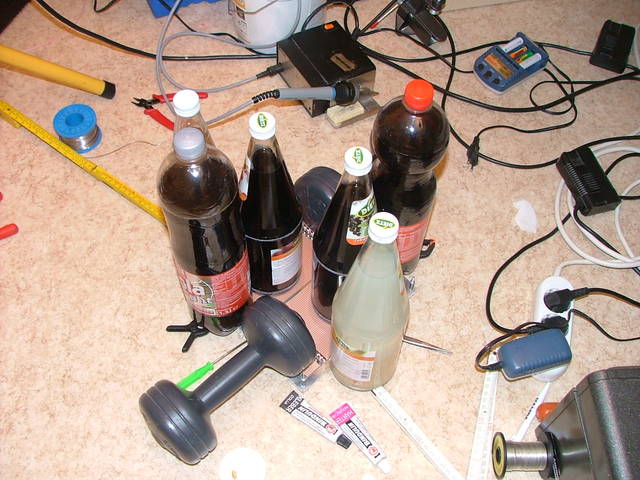
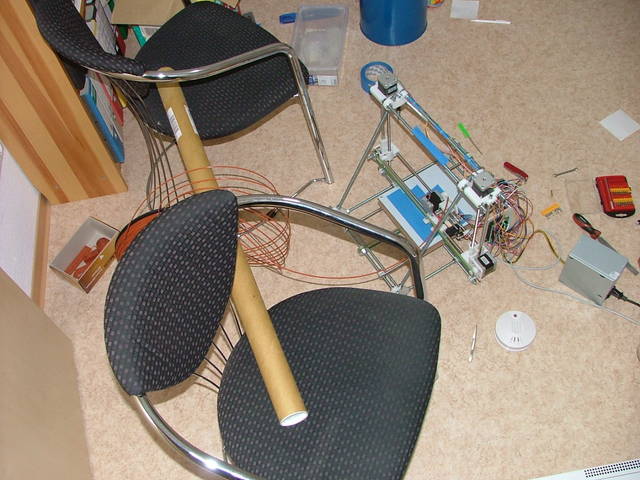
| This is gluing the board to the bed using two component epoxy. It works quite well although the next time I would take more glue to bring it into better thermal contact everywhere. | This is the poor mans setup for unspooling PLA. |
| 
|
| I continued having trouble with my extruder. it regularly jammed. I think the reason was that the cooling wings of the hotend were not cooled enough. So I decided to find a new design for delivering cool air to the wings. In this setup I use the two blowers to put an airflow into a pipe. | The output of the pipe blows (almost) directly onto the wings. That system didn't work at all. There is not really coming much air through that pipe. So I concluded that I need other blowers and anyway a radical different design. |

| 
|
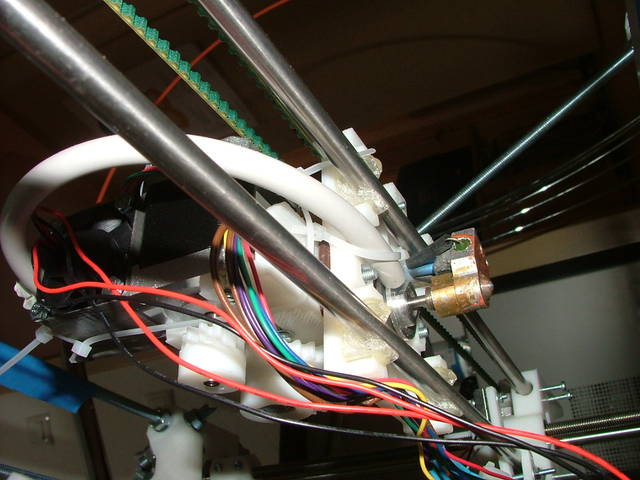
| This is the new setup. I bought two very small form factor air blowers (only 3 mm thick each). They are sucking air from the round hole and blow it out sideways. I made a wood part to guide the air to the wings of the hot end. You see the two blowers mounted onto the wooden part. On top you see a linear voltage regulator for creating the supply voltage of the blowers. Instead of applying a heat sink to the regulator I added source sided pre dropping diodes which take over a lot of the heat. | A shot from the side. See the air flow channel. It should be closed to the top... I'll do that soon. Ok I did it right now with some masking tape. But won't take another foto for now. Hey this is hobby, not job ok? :-) |
 |
| A view from below. Here you see another air intake hole and you see the wooden air guiding plate. |
| 
|
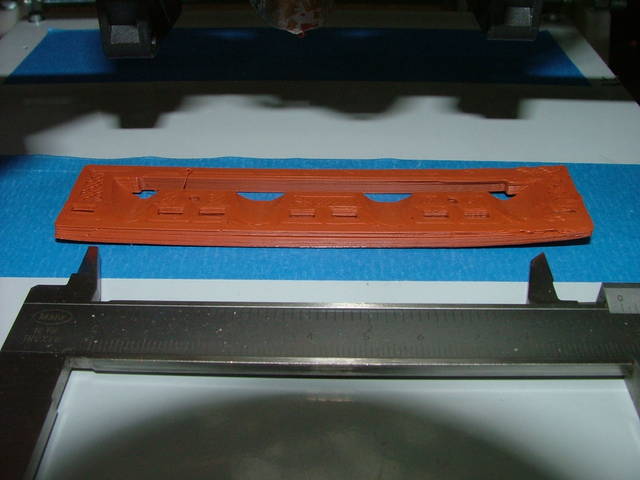
| Victory! Finally! | This part is for my model railroad. It is used to contact my mobile control devices to the peer to peer network system I designed. Yes this part was the reason for building the 3D printer. Crazy? Not at all. |
| (erikyyy at erikyyy dot de, Erik Thiele) | back |